How to set up the applier for S@R WX Series Head
- shirousaginoel
- 2024年2月19日
- 読了時間: 10分

更新日:2025年7月23日
********************************* Update 3.0.0 *********************************
*Now compatible with the new eyelashes updated in the commercial release of
S@R W01X Head 3.0.0.
製品版S@R W01X Head 3.0.0で更新した新しい睫毛に対応しました。
■ S@R W01X Dev Kit ver.3.0.0 – Attention
S@R W01X Dev kit ver 3.0.0の注意点
In S@R W01X Head 3.0.0, we have made a major update to the eyelashes.
As a result, the eyelash UV map has been significantly changed, and any eyelash appliers created using the old UV map will not display correctly on S@R W01X Head 3.0.0. When creating eyelash appliers compatible with S@R W01X Head 3.0.0, please be sure to use the S@R W01X UV Map ver3_0_0.
*You can download the S@R W01X UV Map ver3_0_0 from the following URL
https://drive.google.com/drive/folders/1T4_fF8DkTA_4shRZauj4ZoDmeJ5nwZng
S@R W01X Head 3.0.0では、睫毛に関して大幅なアップデートを行いました。
このことにより、睫毛のUVマップが大幅に変更されることとなり、旧バージョンのUVマップ
を使用して作成された睫毛アプライヤーは、S@R W01X Head 3.0.0では正常に表示され
ません。S@R W01X Head 3.0.0に対応した睫毛のアプライヤーを制作する場合には、必ず
S@R W01X UV Map ver3_0_0をお使いください。
*S@R W01X UV Map ver3_0_0は以下のURLからダウンロードできます。
https://drive.google.com/drive/folders/1T4_fF8DkTA_4shRZauj4ZoDmeJ5nwZng
We’ve prepared two scripts that apply eye textures in different ways. Creators can choose between them as needed.
今回のバージョンから、目のテクスチャー適応方法が異なる2種類のスクリプトを用意
しました。クリエーターはこれらを必要に応じて使い分けることができます。
Included Scripts 同封スクリプト
⋆S@R WX Series Applier Create ver3.0.0 *** Type A ***
⋆S@R WX Series Applier Main ver3.0.0 *** Type A *** ⋆S@R WX Series Applier Create ver3.0.0 *** Type B ***
⋆S@R WX Series Applier Main ver3.0.0 *** Type B ***
Two methods for applying eye textures are available, differing by script type
 TypeAとTypeBは、目のテクスチャーの適応方法が異なります。

Type A
 On the applier HUD, creators provide buttons such as \[Left], \[Right],
 and \[Both], and users select which eye(s) to apply by pressing the
 corresponding button.

  クリエーターはアプライヤー上に、【Left】【Right】【Both】などのボタンを用意
  し、ユーザーはそのボタンによって適応する目を選びます。

Type B
The applier provides only a single “Apply Texture” button (no separate Left/Right/Both buttons). When the user clicks this button, a dialog appears in the top-right corner of the screen prompting them to choose “Left,” “Right,” or “Both.”

  アプライヤー上には【Left】【Right】【Both】を選択するボタンは用意されず、
  テクスチャーを適応するボタンが1つだけ存在します。ユーザーがそのボタンを押
  した際に、【Left】【Right】【Both】を選択するダイアログが画面の右上に表示
  されます。
Step 1- HUD creation and setup HUD の作成とセットアップ
Step 2-Permission settings 権限設定
Step 3- Install the script スクリプトのインストール
Step 4- Applier settings button アプライヤーの設定ボタン
Step 5-Test テスト
Step 6-Finalize ファイナライズ
+++++++++++++++ Step 1- HUD creation and setup ++++++++++++++++
HUD の作成とセットアップ
1-1 Rez the cube for the background panel (root prim).
The surface number on the front of the HUD is [4].
バックグラウンドパネル (ルート プリム) の立方体を Rez。
HUDの前面の面番号は[4]です。
1-2 Rez the required number of button cubes and place them in front of the
background panel.
ボタンの立方体を必要な数だけ Rez し、バックグラウンド パネルの前に配置。
1-3 Add texture to each surface of the prim.
ボタンプリムの各サーフェスにテクスチャを追加。
1-4 Detach button
デタッチボタン
Adding one prim named "detach" makes it easier to attach and detach the HUD.
Please write the spelling of the detach in lowercase.
「detach」という名前を付けたプリムを追加することで、HUDの脱着が容易になる。
※detachの綴りは必ず小文字で記述してください。

1-5 Social media buttons
ソーシャルメディアボタン
When creating buttons for social media links, add one prim for each link.
ソーシャルメディアのリンク用ボタンは、各リンクにつき1つのプリムを追加。
Name each prim "url" and enter the social media url link in the prim description.
Please write the spelling of the url in lowercase.
それぞれのプリムに「url」という名前を付け、プリムの説明にソーシャルメディア
のURLリンクを入力します。
※urlの綴りは必ず小文字で記述してください。

There are no restrictions on object names except for "detach" and "url" objects.
「detach」、「url」オブジェクト以外は、オブジェクト名の制限はありません。
1-6 Link all objects so that the background object becomes the root prim. (The last
object selected becomes the root prim.)
すべてのオブジェクトを、バックグラウンドオブジェクトがルートプリムになるようにリンクして
ください。(一番最後に選択されたオブジェクトがルートプリムになります)

++++++++++++++++++ Step2- Permission settings ++++++++++++++++++
権限設定
2-1 Object permission settings
オブジェクトの権限設定
Please set the permission of the created HUD object to either "copy only" or
"transfer only".
制作したHUDオブジェクトの権限を“コピーのみ”もしくは“転送のみ”のどちらかに設定して
ください。


2-2 Script permission settings
スクリプトの権限設定
Please set the same permissions set for the HUD object in Step 3 for the
“S@R WX01Head APPLIER/Main” script and “S@R WX01Head APPLIER/Builder”
script.
Step2でHUDオブジェクトに設定した権限と同じ権限を、“S@R WX01Head
APPLIER/Main”スクリプトと“S@R WX01Head APPLIER/Builder”スクリプトにも設定
してください。

The script includes a permission checker. Before putting the script into an object, set the object's permissions to those intended for sale, and then set the script's permissions to match those of the object, thus preventing permission setting errors.
スクリプトにはパーミッションチェッカーが実装されてます。スクリプトをオブジェクトに入れる前に、オブジェクトを販売時のパーミッションにセットし、その後にスクリプトをオブジェクトと同じ
パーミッションにセットして入れることで、パーミッションの設定ミスを防げます。
++++++++++++++++++ Step3- Installing the script ++++++++++++++++++
スクリプトのインストール
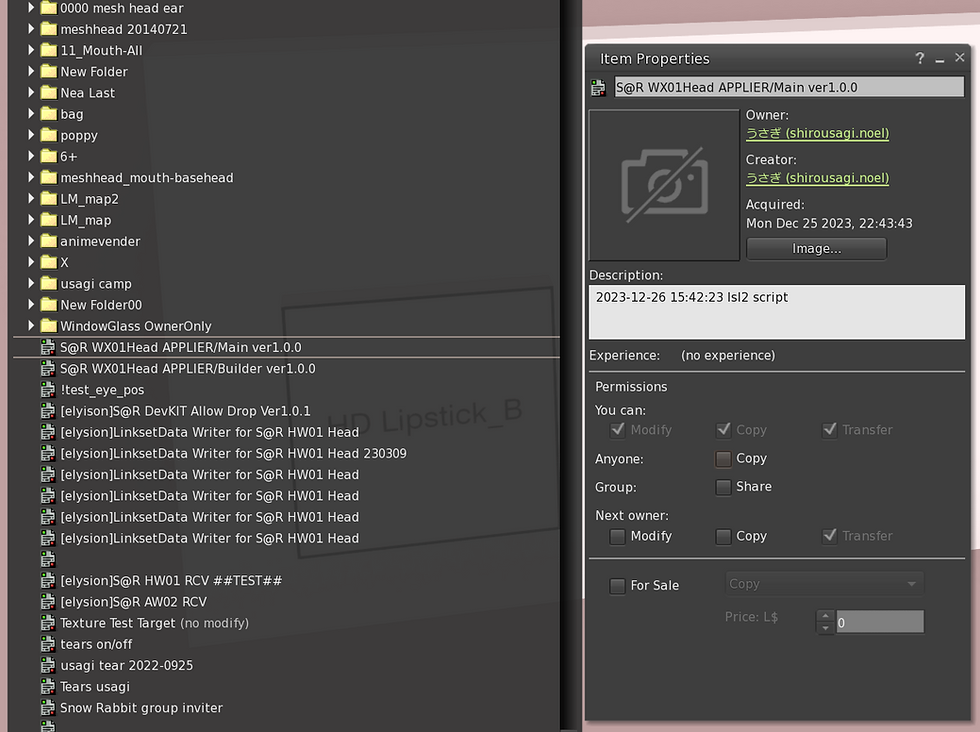
3-1 Copy the two applier scripts provided with this kit to the Contents tab
of the root prim.
このキットで提供されている2つのアプライヤースクリプトを、ルートプリムの [コンテンツ]
タブにコピーします。
S@R WX Applier Main
S@R WX Applier Create
Please note that you are not putting the script in the button.
ボタンにスクリプトを入れるのではないことに注意してください。
When you place two scripts on the HUD object, buttons other than the Detach
button and the URL button turn red..
HUDオブジェクトに2つのスクリプトを入れると、デタッチボタンとurlボタン以外のボタンが
赤く変わります。

If there is a problem with the permission settings, the script will be
automatically deleted and an error message like the one below will be displayed
in the chat field.
パーミッションの設定に問題がある場合は、スクリプトは自動削除され、チャット欄に以下
のようなエラーメッセージが表示されます。
Script and applier must be both either no copy or no transfer. Script will now
self-delete.
スクリプトとアプライヤーは両方ともコピーまたは転送禁止でなければなりません。スクリプ
トは自動的に削除されます。
Script permissions error: script next owner perms must be either no copy or no
transfer. Script will now self-delete.
スクリプト権限エラー: スクリプトの次の所有者の権限は、コピー禁止または転送禁止の
いずれかである必要があります。スクリプトは自動的に削除されます。
++++++++++++++++++ Step 4 - Setting each button ++++++++++++++++++
各ボタンの設定
Repeat the steps shown below for each button.
ボタンごとに、次の手順を繰り返します。
4-1 Left-click the button to display a menu for selecting the layer to apply.
ボタンを左クリックすると、適用レイヤーを選択するためのメニューが表示されます。
Pink hover text will be displayed above the button you are working on.
作業中のボタンの上にピンク色のホバーテキストが表示されます。
The available layers:
選択可能なレイヤー
[Eyes] [HD Blush] [ED Eyebrows] [HD Eyelash] [HD Eyelids]
[HD Lipstick] [Eye Socket]
4-2 Select the applicable layer and part and insert the UUID.
適用レイヤーとパーツを選択し、UUID を挿入します。
Some layers may require you to first select the applicable part before being
prompted for the material's UUID. Please refer to the table below for more
details.
レイヤーによっては、まず最初に適応パートを選択してから、マテリアルの UUID を求められ
るものもあります。詳細は下記の表をご覧ください。
You do not need to provide all three materials, even if they are permitted.
For example, you can specify only the Diffuse material without specifying the
Specular and normal materials.
Be very careful when using specular and normal materials.
3種のマテリアルのすべてが許可されている場合でも、すべてを設定する必要はありません。
たとえば、Specularマテリアルとnormalマテリアルを指定せずに、Diffuseマテリアルのみを
指定できます。
Specularマテリアルとnormalマテリアルの使用には細心の注意が必要です。


4-3 After entering the UUID, click on "Done.
UUID を入力したら、[Done] をクリックします。
The hover text will update to cyan, and the buttons will no longer be highlighted.
ホバー テキストが水色に変わり、ボタンが強調表示されなくなります。

++++++++++++++++++ Step 5- Button Testing ++++++++++++++++++
ボタンテスト
When the button setup is complete, you can perform a test to ensure that the
applier is correctly set up.
ボタンの設定操作が完了したら、アプライヤーが正しく設定されているかどうかを確認するために
テストを行うことができます。

++++++++++++++++++ Step 6- Finalization ++++++++++++++++++
ファイナライズ
Once all buttons are configured, click on the base HUD and select [Finished].
すべてのボタンを設定したら、ベース HUD をクリックして [Finished] を選択します。
Upon successful operation, the hover text will disappear.
操作が成功すると、ホバー テキストが消えます。
If buttons are not set, the script will return an error. Please set all buttons and
click [Done].
ボタンが設定されていない場合、スクリプトはエラーを返します。 すべてのボタンを設定
して、[完了] をクリックしてください。

If you need to reconfigure the applier after finalization, you don't have to redo
everything. Copy the “S@R W01X Applier Create” script into the root
prim and click the button you want to modify.
You can modify only what you need.
ファイナライズ後にアプライヤーを再構成する必要がある場合、あなたは全てをやり直す
必要はありません。ルートプリム内にS@R W01X Applier Createスクリプトをコピー
し、修正したいボタンをクリックしてください。あなたは必要な個所のみを修正することが
できます。
[Disclaimer]
SPECULAR Material Issues
In Firestorm 6.5.6 (66221) Jul 16 2022 14:14:47 (64bit / SSE2),
we have identified the following issues when applying normal and specular maps to rigged
mesh objects.
<Condition>
Firestorm 6.5.6 with the advanced lighting model turned on in the graphics environment.
<Symptoms>
If you have two or more visually overlapping mesh prims with textures containing
transparency applied to their diffuse maps,
using normal and/or specular maps on those mesh prims will cause the diffuse map's
texture to not be displayed.
<Additional Information>
The Official Viewer for Second Life Release 6.6.9.577968 (64 bit) does not have this issue
and displays normally under any of the above conditions.
<Countermeasures>
Until the Firestorm issue is resolved, I recommend refraining from using normal and
specular maps in the cosmetic parts below.
Eyelids (Inside, Outside), Blush, Lipstick
With this countermeasure, even if you operate the specular slider for the above parts on
the HUD, the appearance will not change.
SPECULAR sliders work for skins and eyes because the problem mentioned above does
not apply to these parts.
[免責事項]
SPECULARマテリアルの問題
Firestorm 6.5.6 (66221) Jul 16 2022 14:14:47 (64bit / SSE2)において、リグメッシュオブジェクトに対してのノーマルマップおよびスペキュラーマップの適応の際、下記の問題を確認しました。
<条件>Firestorm 6.5.6において、グラフィック環境で高度な照明モデルをONにした状態
<症状>ディフューズマップに透明部分を含むテクスチャーが適応されているメッシュプリムが2枚以上視覚的に重なっている場合、
そのメッシュプリムにノーマルマップおよびスペキュラーマップ、もしくはその両方を使用すると、ディフューズマップのテクスチャーが表示されなくなるなどの問題が生じる。
<付加情報>
Second Life Release 6.6.9.577968 (64bit)のオフィシャルビューワにおいて、この問題は確認されず、上記のいかなる状況でも正常に表示されます。
<対策> FireStormの問題が解決するまで、下記の化粧プリムでノーマルマップおよびスペキュラーマップの使用を控えることをお勧めします。
Eyelids (Inside, Outside), Blush, Lipstick
この対策により、HUD上で上記部位のスペキュラーのスライダーを操作しても見え方に変化は起こらなくなります。
※スキンと目に関しては、上記の問題から外れますのでSPECULARスライダーは有効です。


コメント